Ingredients
Equipment
Method
- In a large mixing bowl, whisk together the buttermilk, sugar, eggs, melted butter, and vanilla extract.
- Sift in the flour, cocoa powder, baking powder, baking soda, and salt and stir until just combined. Do not overmix; a few lumps are okay.
- Add a few drops of red food coloring and mix. Add a little bit more at a time until you reach the desired color.
- Heat a non-stick skillet or griddle over medium heat and lightly grease it.
- Pour about ¼ cup of batter onto the skillet for each pancake. Cook until bubbles form on the surface of the pancake, then flip and cook the other side until lightly browned. Repeat until all the batter is used.
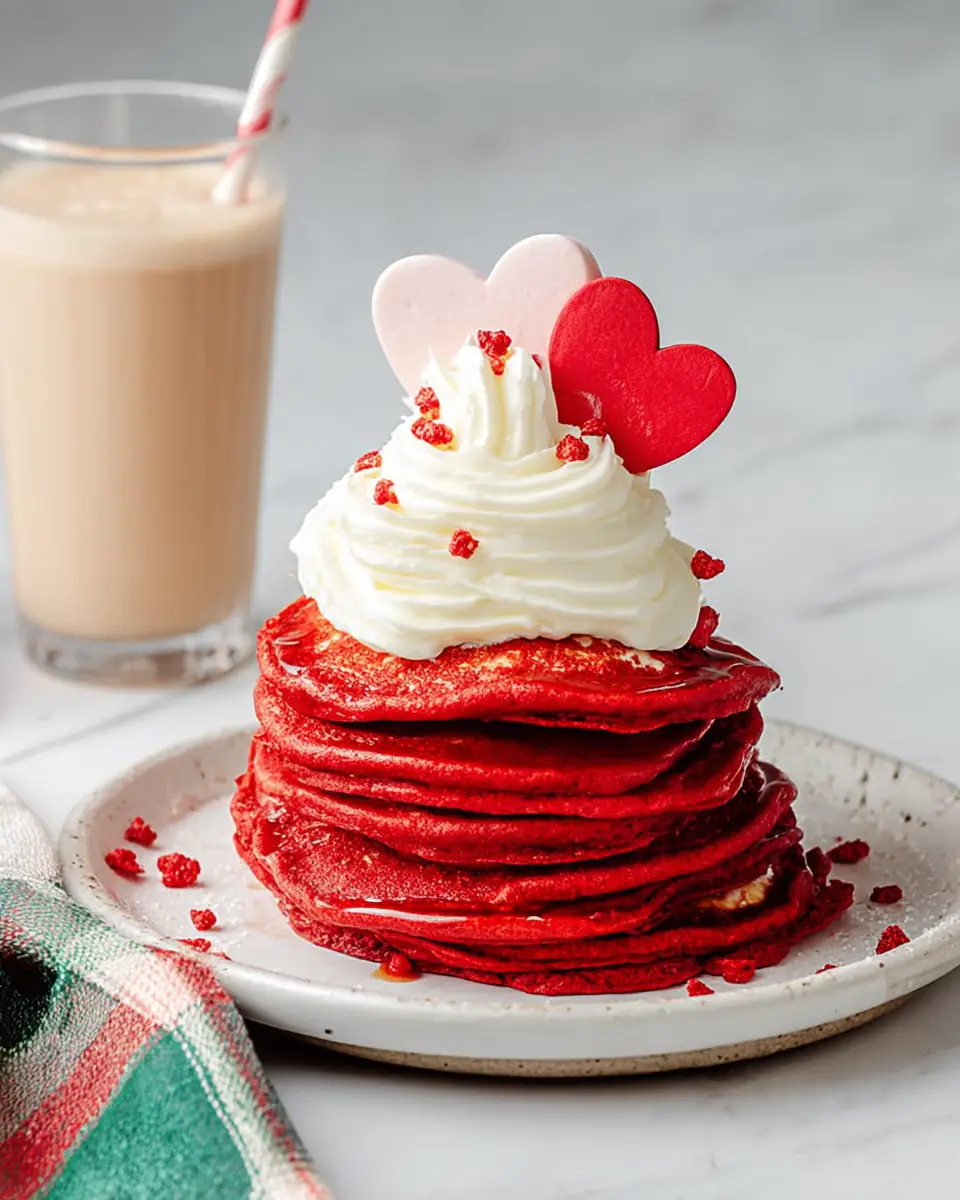
- Serve the red velvet pancakes warm, topped with sprinkles and a dollop of whipped cream.
Notes
Whisk the dry ingredients together well before adding to the wet ingredients. Be sure not to overmix the batter so it doesn’t become rubbery. For taller pancakes, add the food coloring along with the liquid ingredients to prevent overmixing once the dry ingredients are incorporated. Let the batter rest for 2-3 minutes before you start to cook. Use a very large skillet or griddle and give your pancakes plenty of room. For best results, wipe down the skillet or griddle between batches. If you don’t have buttermilk on hand, you can easily make your own. Check out my post to learn how to make buttermilk. For a richer flavor, try adding a touch of cinnamon or nutmeg to the batter. Make these gluten-free: simply swap the all-purpose flour for gluten-free flour. Storage – keep in an airtight container in the fridge for 2 days. There are 8 WW Blue Plan SmartPoints in one serving of this.