In this article, we will explore a delicious and easy-to-prepare recipe.
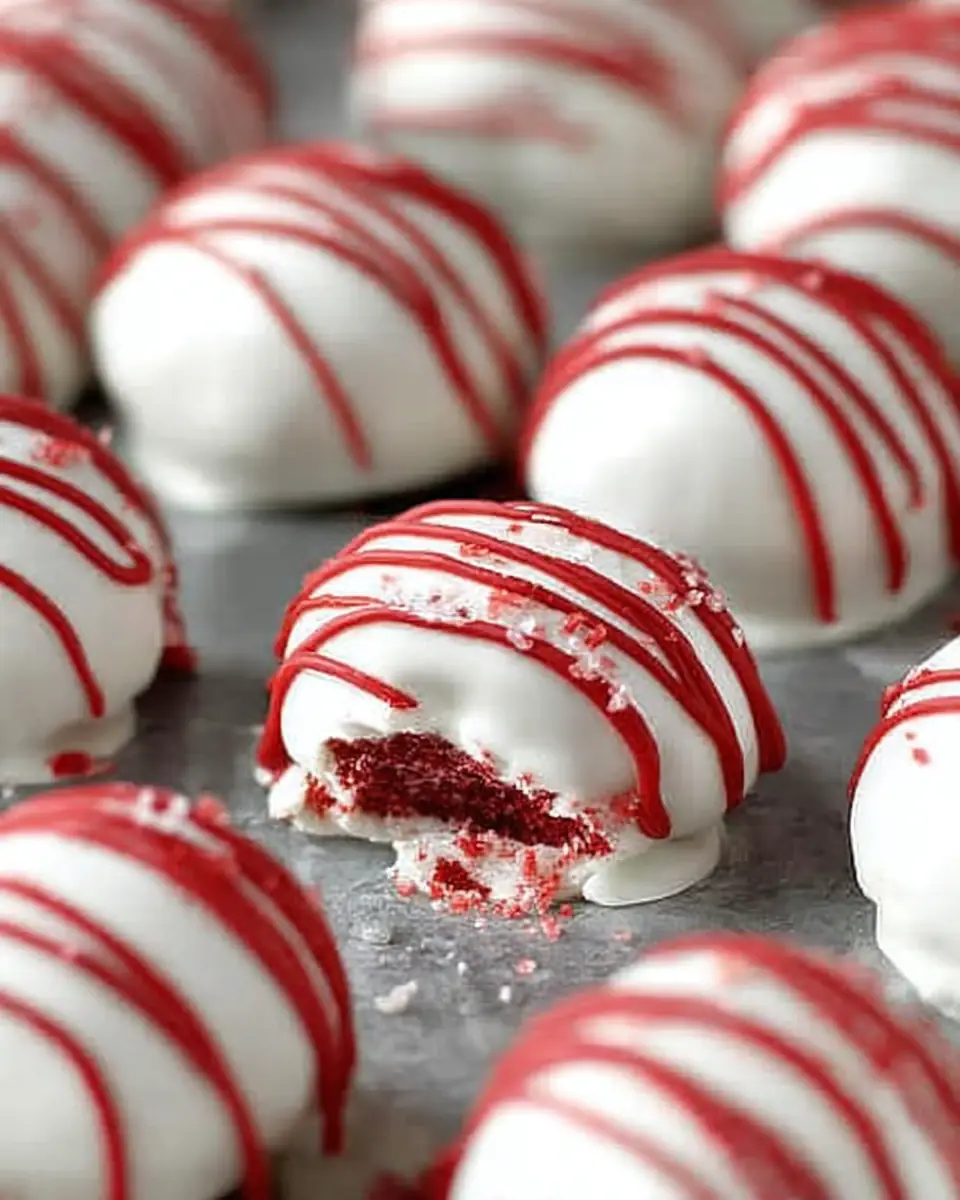
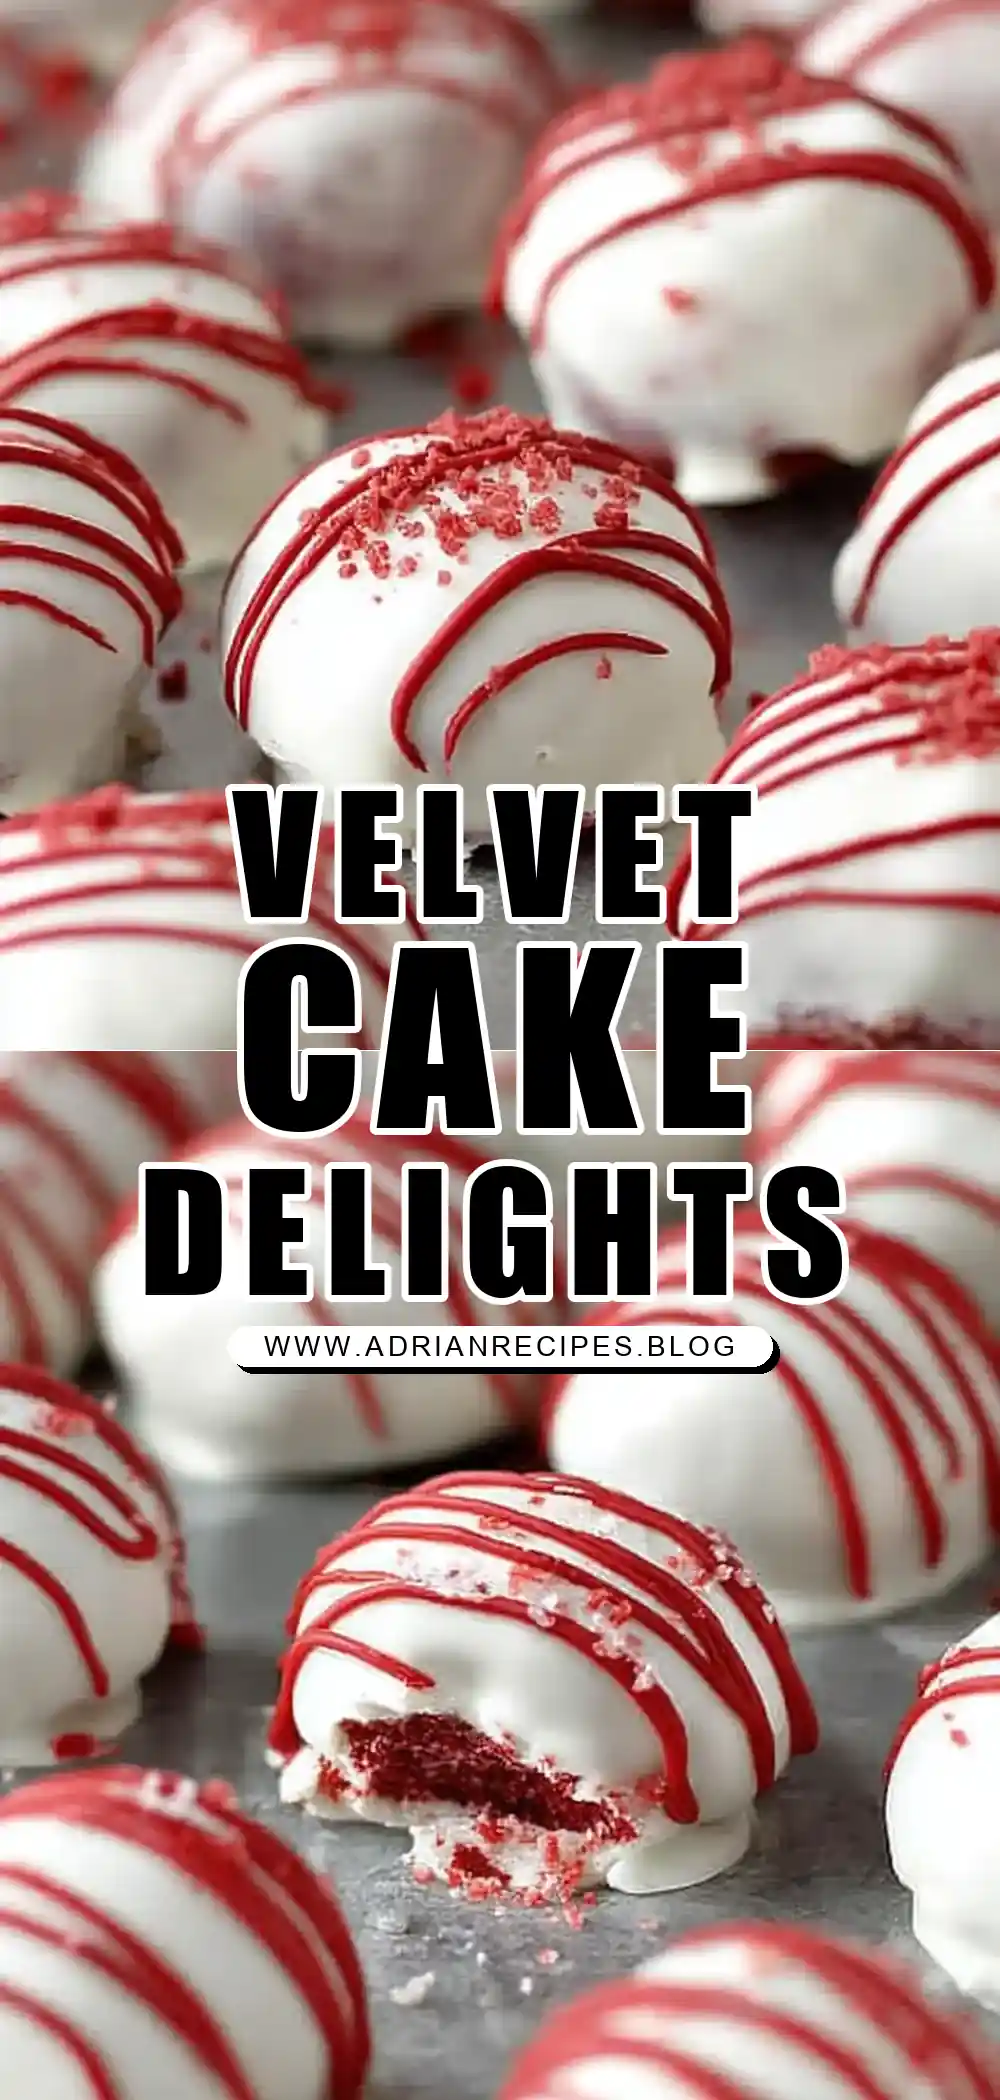
Red Velvet Cake Bites: A Deliciously Decadent Treat
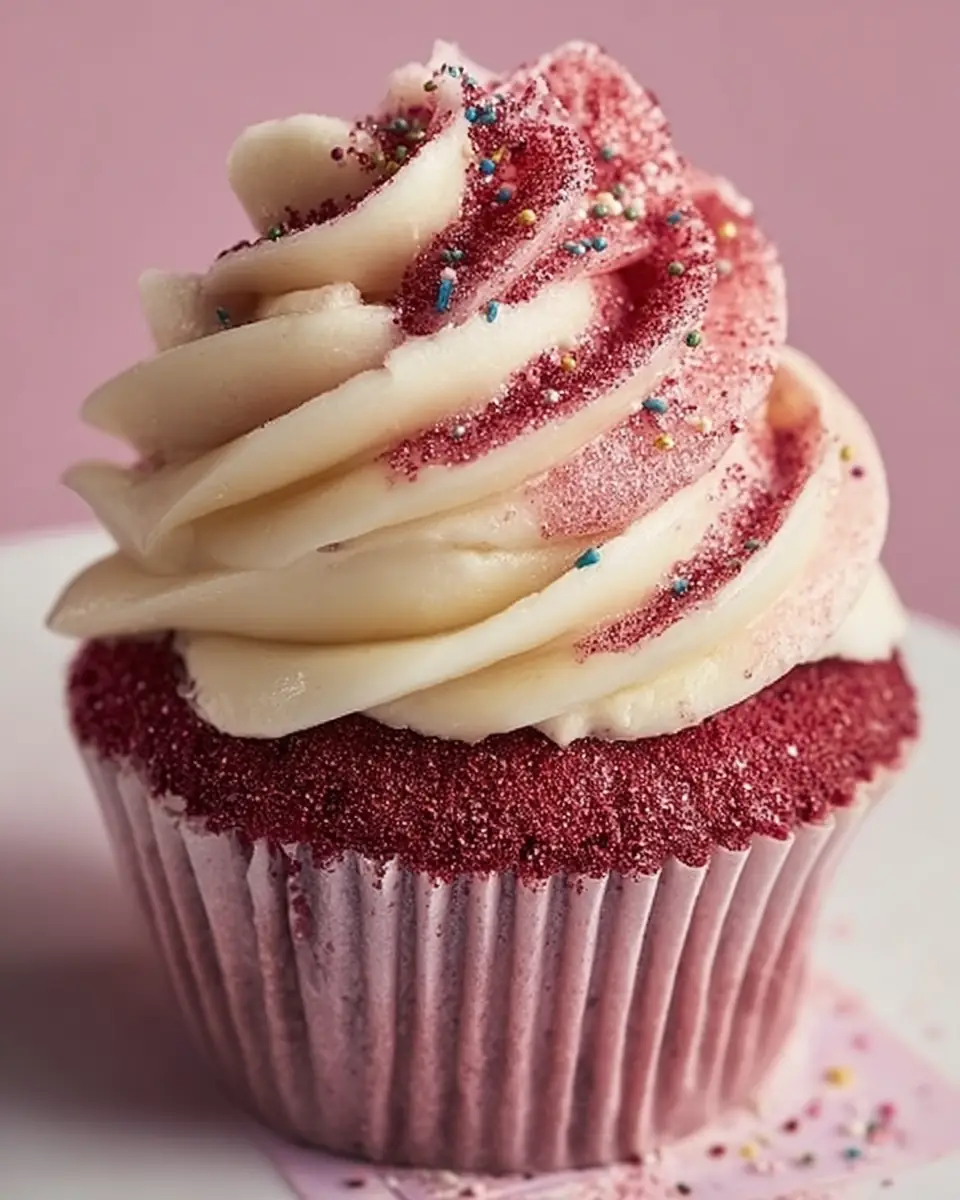
If you’re a fan of red velvet cake, you’re going to fall head over heels for these Red Velvet Cake Bites. This delightful twist on a classic dessert transforms the timeless red velvet cake into bite-sized morsels that are perfect for any occasion. Whether you’re hosting a party, attending a potluck, or simply treating yourself, these cake bites are sure to impress.
Ingredients and Essentials
Before diving into the process, let’s gather everything you need. These Red Velvet Cake Bites are made with a simple list of ingredients, most of which you likely already have in your pantry:
- 15.25 ounces Red Velvet Cake Mix (1 box): The foundation of our cake bites, this mix offers the perfect balance of flavor and texture.
- 1 ¼ cups water: As specified on the cake box.
- 3 eggs: To bind and provide structure.
- ½ cup vegetable oil: For moisture and richness.
- 16 ounces cream cheese frosting: Use a store-bought package or make your own for a personalized touch.
- 1 pound white chocolate candy coating or almond bark: To encase each bite in a luscious shell.
- 15 Red Candy Melts (optional): For adding a decorative red drizzle.
Step-by-Step Directions
1. Baking the Cake
Start by preparing the red velvet cake according to the instructions on the box. This will involve combining the cake mix, water, eggs, and vegetable oil. Bake until a toothpick inserted into the center comes out clean. This usually takes about 30 minutes.
2. Cooling and Crumbling
Once baked, let the cake cool completely. To speed up the process, consider placing it in the freezer for about 45 minutes. Alternatively, you can let it cool at room temperature overnight.
With the cake completely cooled, transfer it to a large bowl. Using your hands, crumble the cake into fine pieces. This step is crucial as it ensures the perfect texture for your cake bites.
3. Mixing with Frosting
Gradually add the cream cheese frosting to the crumbled cake, mixing in about ½ cup at a time. You’re aiming for a consistency that holds together when rolled into a ball. The frosting acts as a binder and adds that creamy sweetness red velvet is known for.
4. Shaping the Bites
Roll the mixture into balls, adjusting the size to your preference—small bites are often ideal since they are quite rich. For a more traditional cake bite appearance, flatten each ball slightly into a disc shape. Place them on a large baking sheet and refrigerate for about 30 minutes to firm up.
5. Coating with Chocolate
Melt the white chocolate candy coating or almond bark according to the package instructions. Using a skewer or toothpick, dip each cake bite into the melted chocolate, ensuring an even coat. Let any excess drip off before placing the bites back onto the baking sheet or wax paper.
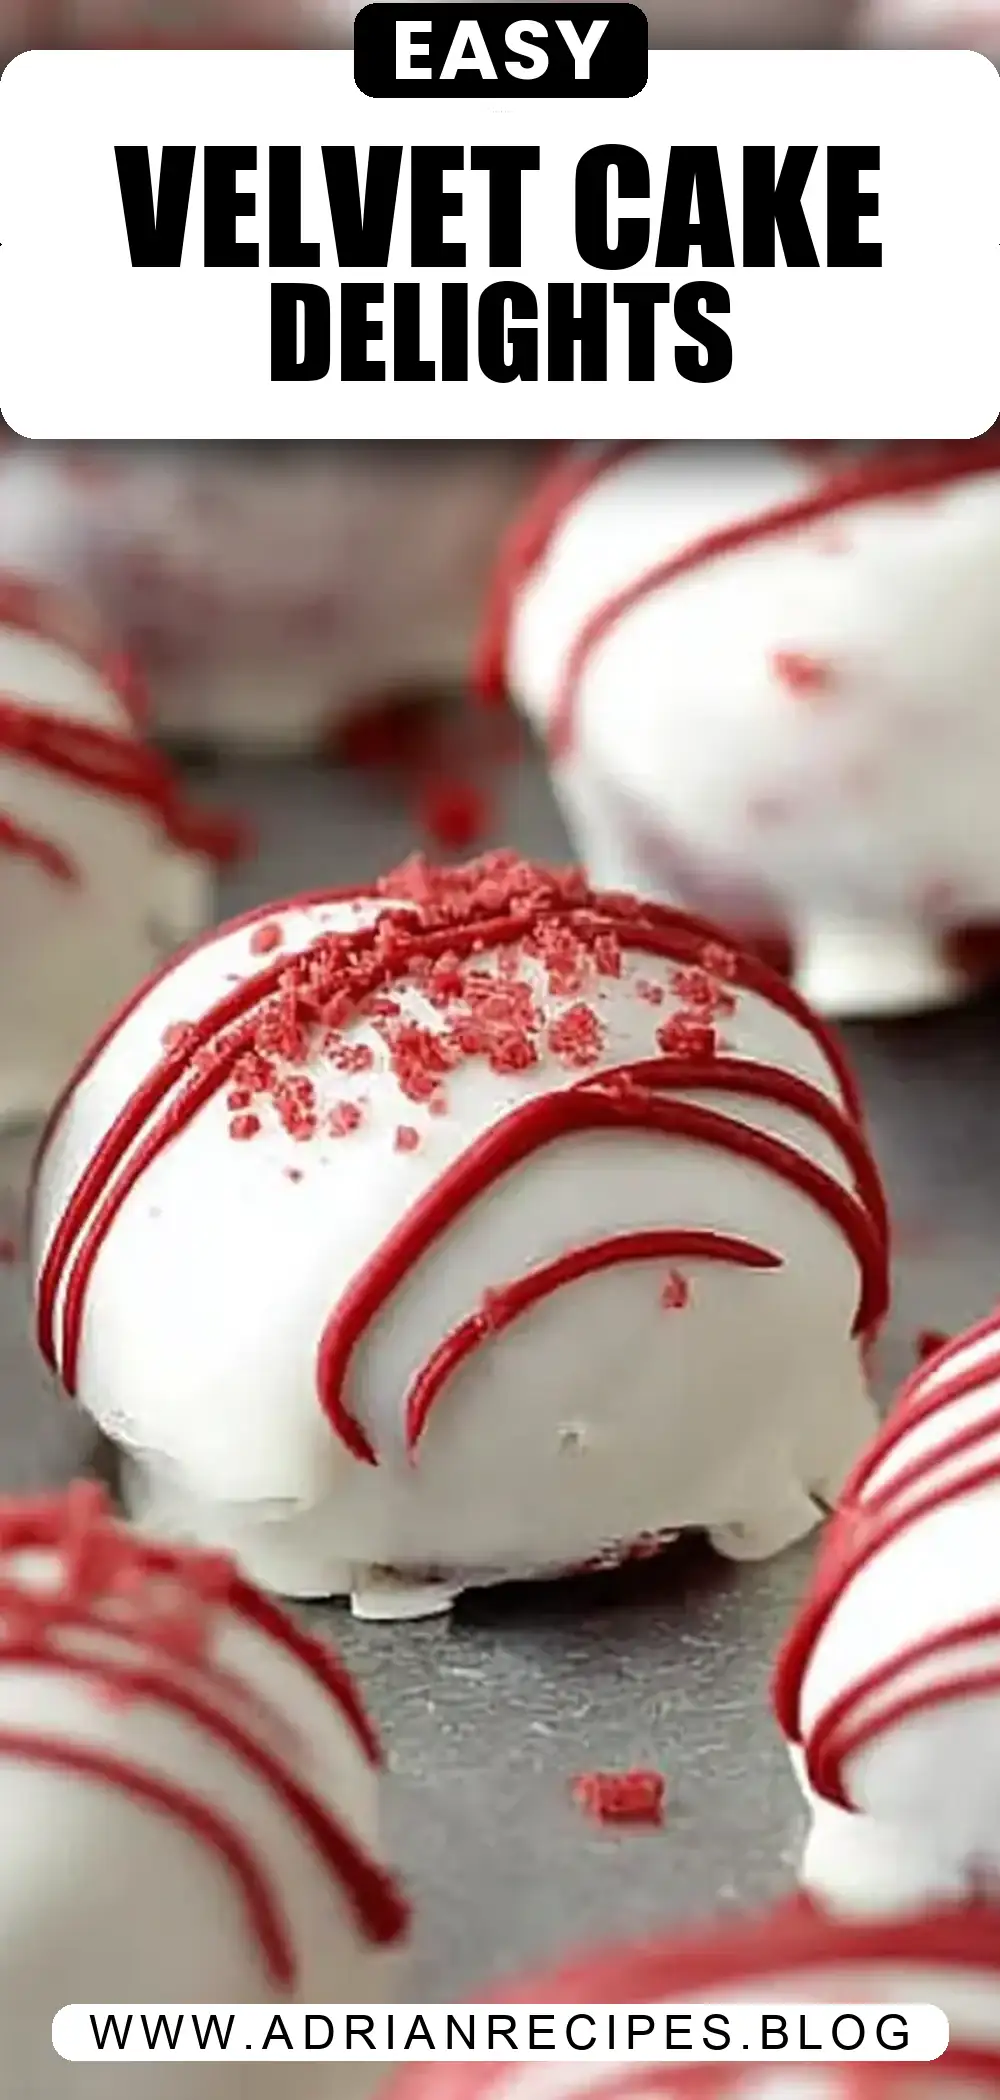
6. Setting and Decorating
Allow the chocolate coating to set. For quicker results, refrigerate the bites. If you plan to decorate with sprinkles, do so before the coating hardens. For a finishing touch, melt the red candy melts and drizzle over the set cake bites. Use a resealable sandwich bag with a tiny corner snipped off for precise drizzling.
Nutritional Information
Each serving of Red Velvet Cake Bites contains approximately:
- Calories: 150 kcal
- Carbohydrates: 19 g
- Protein: 1 g
- Fat: 8 g
- Saturated Fat: 5 g
- Trans Fat: 1 g
- Cholesterol: 10 mg
- Sodium: 95 mg
- Fiber: 1 g
- Sugar: 16 g
Total Time and Enjoyment
With a prep time of about 2 hours and a cook time of 30 minutes, these cake bites require some patience but are absolutely worth the wait. The total time clocks in at approximately 2 hours and 30 minutes, making them a manageable project for a lazy afternoon or a weekend baking session.
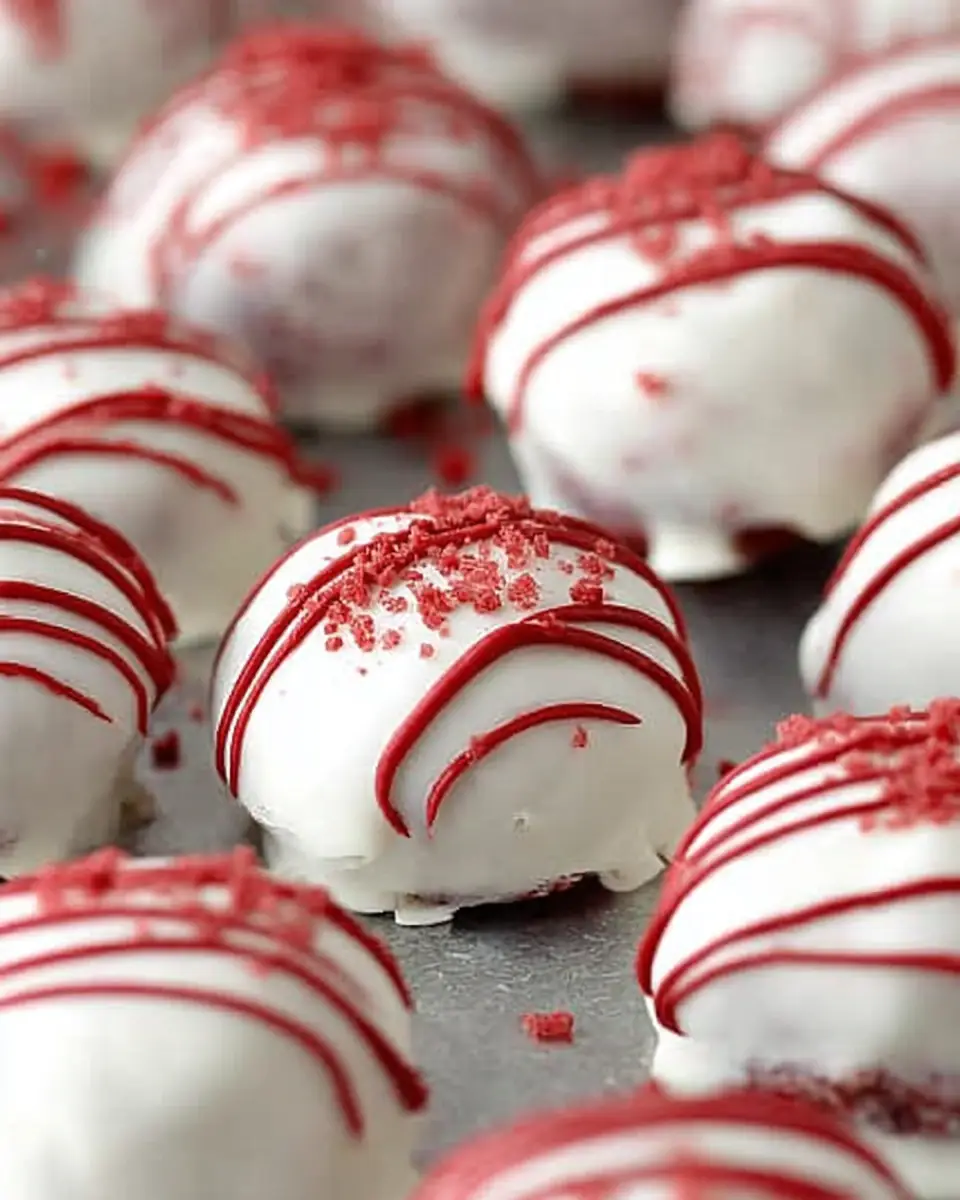
Final Thoughts
Red Velvet Cake Bites are a delightful treat that offers all the flavors you love in a convenient, portable form. Whether you’re a baking novice or a seasoned pro, this recipe is straightforward and rewarding. Enjoy these bites as a sweet indulgence, a party favorite, or a thoughtful homemade gift. Happy baking!
Red Velvet Cake Bites
Ingredients
Equipment
Method
- Bake the cake according to directions on the package.
- Let it cool completely, using the freezer or letting it cool overnight.
- Put the entire cake in a bowl and crumble it up using your hands.
- Stir in your container of frosting into the crumbled cake, about ½ cup at a time, until it holds together.
- Roll the mixture into balls and flatten slightly if desired. Place on a baking sheet and refrigerate for 30 minutes.
- Melt white chocolate candy coating and dip each cake bite until evenly covered.
- Let the bites set up, refrigerating if you want them to harden quickly. Decorate with sprinkles or drizzle with red candy melts if desired.